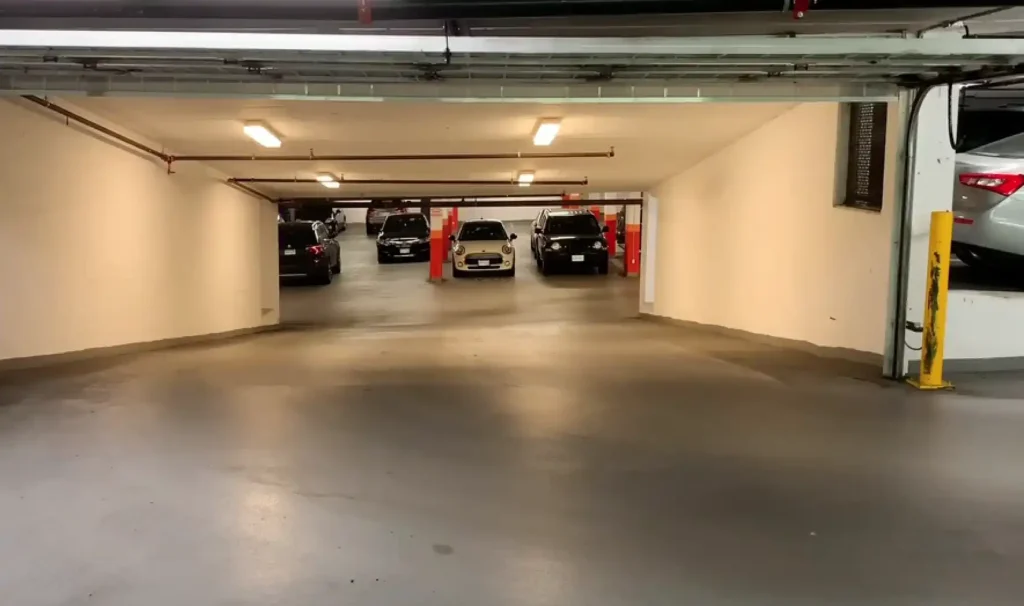
Winter is rough on every part of your house, and your garage floor is no exception. The snow, ice, and chemicals in road treatments will wreak havoc on the surface long-term, creating cracks, stains, and generally making it look awful. Luckily, epoxy flooring can be a great way to keep your garage floor safe through those harsh winter months. In this post, we will show you how to prepare your garage floor with epoxy for winter to keep it safe, clean, and durable.
Why Epoxy Flooring is Perfect for Winter

Before jumping into how to prepare your garage floor, let’s take a look at why epoxy is an excellent choice for protection during winter.
Tough and Durable: Epoxy is strong, resistant to heavy traffic, extreme temperatures, and even those strong chemicals they spread on icy highways.
Resistance to Stains and Chemicals: Some of the biggest headaches with concrete floors come from road salts, oil, and other stains. Epoxy lays down a smooth, nonporous surface that resists most of these stains and makes cleaning easier.
Improved Safety: Epoxy floors can be made with non-slip additives, making them much safer during wet and icy conditions.
Easy to Maintain: Epoxy coatings are easy to clean, reducing the effort it takes to keep your garage looking pristine throughout winter.
Step 1: Clean the Floor Thoroughly
Cleaning your garage floor is the initial step in applying an epoxy to it, ensuring it is totally free of any dirt, oil, grease, or any contaminant. This helps the epoxy bond well and stick to the surface for a long period of time.
How to Clean Your Garage Floor
Sweep or Vacuum: It is necessary to sweep the floor in order to remove dirt, dust, and debris. If there is a lot of dust in your garage, consider vacuuming with a hose attachment for getting into the corners.
Degrease: Clean oil and grease stains using a degreaser. Scrub with a stiff brush, then clean off the area with water.
Power Wash: If there is a stubborn stain or heavy dirt, then power washing is required to give in-depth cleaning to the floor. It will remove all kinds of grime that may get stuck inside the concrete.
Dry the Floor: Once it is cleaned, let it be completely dry. Put fans or open the garage door for increased drying speed.
Step 2: Fill Any Cracks or Holes
Epoxy will not adhere correctly to a cracked or damaged surface. You will have to fix any cracks or holes in it before applying the coating.
How to Clean Your Garage Floor
Fill Cracks: If some visible cracks remain in view, just fill them with a concrete crack filler or epoxy patching compound. Most home improvement stores have these. Use a putty knife to apply filler and then feather it to a finish even with the balance of the floor.
Allow Drying Time: Allow the repair to dry according to the instructions on the product before moving on to the next step. This usually takes about 24 hours.
Sand the Surface: Once the repairs are dry, sand the patched areas to ensure they are smooth and even with the surrounding concrete.
Step 3: Etch the Concrete Surface
Concrete floors tend to be too smooth for the epoxy to set up on properly. The etching process makes tiny, rough textures in the concrete to which the epoxy can better bond.
How to Etch the Concrete
Apply an Etching Solution: You can buy a concrete etching solution that will serve to roughen the surface. Follow the mixing and application instructions on the product.
Solution Application: Spill the etching solution onto the floor, then spread it by using a broom or a mop. Let it set for the time recommended, scrubbing it with a solid brush afterward.
Rinse It Off: After scouring the floor, further rinse with water to get rid of the residual etching solution. Dry the surface again for absolutely no remaining moisture.
Step 4: Apply Epoxy Coating
Now that your floor is clean, repaired, and etched, it’s time to apply the epoxy coating. This step will protect the garage floor from moisture, stains, and heavy foot traffic this winter.
How to Apply Epoxy
Mix the Epoxy: Most epoxy kits come with two components-resin and hardener-that need to be mixed together before application. Be sure to follow the instructions on the product to get the right ratio.
Work in Small Sections: Apply the epoxy in small sections to avoid its drying too fast. Start from one corner of the garage towards the exit so you don’t get trapped in the area you’re working on.
Using the Roller Apply the epoxy on the floor using a long-handled roller. The application is made by initially rolling in one direction followed by another at a perpendicular angle to provide an even coating.
Apply in Multiple Coats: For maximum durability, you may want to apply two coats of epoxy. Allow the first coat to dry completely before applying the second. Follow the manufacturer’s recommendations for drying time between coats.
Step 5: Add Anti-Slip Additives (Optional)
Winter can make your garage floor slippery, as snow and ice melt and puddle on it. You can make your garage a safer place by incorporating an anti-slip additive into the epoxy.
How to Add Anti-Slip Additives
Select the Additive: Most home improvement stores carry non-slip additives. Typically, these additives are types of sand or rubber granules that are mixed into the epoxy during application.
Mix It In: Once your epoxy is mixed, stir in the non-slip additive according to the manufacturer’s instructions. This will create a textured surface that provides extra traction.
Apply as Usual: Once the additive is mixed in, apply the epoxy as you normally would. The additive will create a textured finish that reduces the risk of slipping on wet floors.
Step 6: Allow the Epoxy to Cure
After applying the epoxy, make sure to give it enough time to cure before driving or walking on it. This will ensure that the epoxy hardens completely and provides the best protection for your garage floor.
Curing Time
Wait for Full Cure: Most epoxies take anywhere from 24 to 72 hours to fully cure, depending on the temperature and humidity. It is worth taking this amount of time to give the coating sufficient time to harden.
Avoid Moisture: Keep the garage dry while the epoxy is curing. No water or moisture should touch the floor to set the epoxy correctly.
Step 7: Maintain Your Epoxy Floor
Once your epoxy floor is fully cured, it’s important to maintain it throughout the winter months. While epoxy is durable, it still requires some care to keep it looking and performing its best.
How to Maintain Your Epoxy Floor
Clean Regularly: Sweep or vacuum your garage floor regularly to remove dirt and debris. When necessary, clean the floor with a mild detergent and water.
Avoid Stains: If you have a spill involving oil, antifreeze, or road salt, immediately clean it up so it doesn’t stain the epoxy surface.
Conclusion
Epoxy flooring is one of the best methods to protect your garage floor during harsh conditions like winter. By following these simple steps of cleaning, repairing, etching, applying the epoxy, and maintaining the surface will help your garage floor remain safe, clean, and durable during the cold season. Besides making your floor look great, it will be more prepared for the rough winter conditions.
So, prepare the epoxy of your garage floor today and make this winter headache-free!


