Being an epoxy installer is quite unique and rewarding. From preparing surfaces to applying flawless coatings, this job requires skill, patience, and dedication. Whether it’s transforming a garage floor or creating a stunning countertop, epoxy installers make spaces both functional and beautiful. Let’s take a closer look at the typical day in the life of an epoxy installer.
Starting the Day: Planning and Preparation
Planning to Get Started
Planning is the initiation of any successful project. Most epoxy installers start their day with project details. This entails:
Checking design specifications.
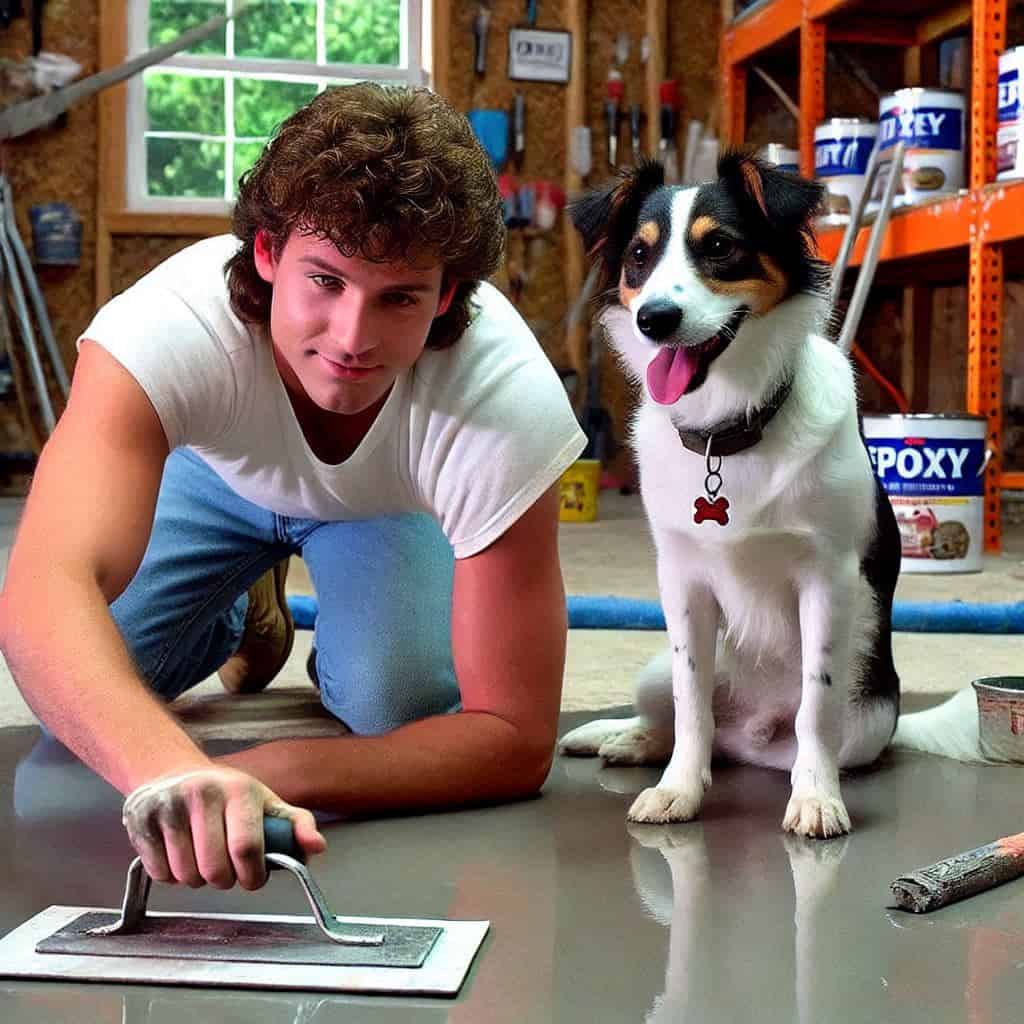
Preparing materials that include but are not limited to epoxy resin, hardeners, and pigments.
Checking rollers, mixers, and heat guns among other tools.
To Inspect the Site
Before commencing work, the site has to be inspected. An epoxy installer has to:
Check for cracks or any other forms of damage on the surface.
Measure the area to determine how much epoxy is required.
Check the temperature and humidity because those are factors that may affect the curing of epoxy.
Example of Preparation
Suppose one is preparing an epoxy garage floor. The installer would check for oil stains, clean the surface, and make sure the floor is even. This attention to detail will ensure a smooth and durable finish.
Surface Preparation: The Key to Success
To Clean and Level the Surface
Surface preparation is one of the most critical steps. An epoxy installer must:
Dirt, grease, and other debris removal.
Grind uneven surfaces to level out.
Fill cracks with patching compound.
To Protect Surrounding Areas
Epoxy spills can ruin an otherwise perfect surrounding surface. To avoid this, installers use:
Masking tape.
Plastic sheets covering furniture or fixtures.
Example of Surface Preparation
In a kitchen countertop, the installer has to sand the surface for a rough texture so that the epoxy can adhere well. The installer covers nearby cabinets with covers for protection from any mess.
Mixing the Epoxy: It's All About Precision
To Follow Instructions on Mixing
Mixing epoxy is done with accuracy. Installers must:
Measure the resin and hardener accurately.
Mix them together to avoid air bubbles.
Add colorant pigments or flakes if a specific design is desired.
Work Fast
Epoxy has a limited pot life, meaning it begins to harden after mixing. Installers must:
Mix only as much as they can use immediately.
Work efficiently to avoid waste.
Example of Mixing
For a decorative floor, the installer mixes epoxy with metallic pigments to create a marbled effect. This step requires both creativity and technical knowledge.
Applying the Epoxy: Bringing the Design to Life
To Apply in Layers
Epoxy is laid down in layers for durability and a high-gloss finish. The installers do the following:
Spread the base coat evenly with a roller.
Add flakes or color pigments for decoration.
Lock it in with a clear topcoat for protection.
To Remove Air Bubbles
A heat gun or torch helps remove air bubbles that often form during application. This makes the surface smooth and professional-looking.
Example of Application
Seamus Epoxy Flooring epoxy flooring installer applies a seamless epoxy floor in a commercial space. He spreads the material out with a squeegee and uses a heat gun to remove defects.
How to Cure and Finish
To Give it Time to Cure
Curing refers to when the epoxy dries completely. An installer needs to:
Allow the epoxy time to dry for at least 24-48 hours.
The area should be left dust and debris-free in the meantime.
To inspect and polish
After curing, the installer checks the surface for imperfections. If necessary, they buff the epoxy to an increased shine.
Example of Finishing
In a showroom floor, the installer allows the epoxy to cure and then buffs it to a high-gloss finish.
Challenges Faced by Epoxy Installers
To Adapt to Weather Conditions
Temperature and humidity affect the application of epoxy. Techniques must be adapted to provide proper curing.
To Meet Client Expectations
Each job is different. Installers must:
Clearly communicate with clients.
Provide an end result that reflects the client’s perception.
Example of Challenges
An outdoor patio installation; rain delays the curing time. The installer reschedules to get a perfect finish.
The Rewards of the Job
To Create Stunning Results
The best part about being an epoxy installer is the transformation. Whether it’s a colorful countertop or a durable garage floor, the results are always rewarding.
To Build Client Satisfaction
Happy clients mean a successful project. Installers take pride in delivering quality work that exceeds expectations.
Example of Rewards
After finishing a residential kitchen job, the homeowner is thrilled with the high-gloss, marble-like countertop, and it was all worth it.
A day in the life of an epoxy installer is filled with challenges, creativity, and satisfaction. From meticulous preparation to stunning finishes, these professionals bring designs to life. Their work not only enhances spaces but also leaves a lasting impression. If you’re considering a career as an epoxy installer, be ready to learn, adapt, and create beautiful results every day.
